PSP 7, 8, 9, 10, 11 OR 12 and Animation Shop 3 (if you already have one)
Tube of choose-I use Rac-Purchas-HERE Mura Meister/Copies, Xero/Porcelain, Eye Candy 4000/Gradient Glow-HERE
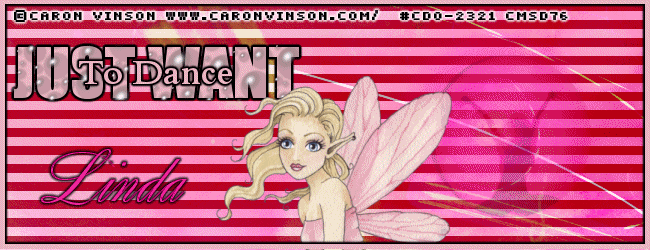
Font-Pixelette and Riesling-HERE (or you can google to find those fonts)
1.New Image 650 x 250
2.Copy your choose tube and on your canvas, paste as new layer
3.Adjust/Gaussian Blur-default and adjust/Motion Blur-default. Repeat once. The settings are:
Angel-315.00 and Strenth-70. Click OK
4.Effect/Blind. The settings are:
Width-4
Opacity-20
Color-white (ffffff)
Ticked-Light from left/top
Click OK
5.Copy your choose tube and on your canvas, paste as new layer. Image/Resize-75%, once. Move it on left side (see my tag)
6.Click on rectangle and I use #ffffff. Just draw along then convert. Move under the tube of your choose. On your palette, opacity slide to 43. Activity top. Click Pen Tool. I use #5a2f15 or your choose. Line Style-I use Diamond next to is Width/4.00. Just draw along. Raster to Convert. Put it under the tube of your choose. Drop Shadow of your choose.
7. Activity tube. Xero/Porcelain-defeault
8.Activity top. Click Text-I use Pixelette, size-10, Stroke 2.0 and I use #000000 or your choose. Just type "A is for Autumn". Raster to Convert. Put it near tube of your choose. Effect/Eye Candy 4000/Gradient Glow. The setting are:
Glow Width-3.00
Soft Corner-25
Overall Opacity-100
I use white to help you see better and visible more clear. Again, just type "Softly float the leaves of Fall". Repeat Gradient Glow, same settings.
9.Click text and again, type "Taste Of Autumn". The font that I use is Riesling and use #d9390f or your choose. Repeat Gradient Glow, same setting, but I use black
10.Activity tube of your choose. Duplicated. Image/Mirror. Resize 55%, once.
11.Layer/Merge/Visible Merged
12.Image/new layer, fill it with black. Selection/Select All. Selection/Modifty/Contract-5 pixels. Click OK. Hit delete on your keyboard. Image/Merge/Visible Merged.
13. Add copyright info and urls as well as license numbers include your watermark on your tag.
Avatar
Image/200 x 200
Repeat 1-13 except not repeat from 8, 9 and 10.
To add your name on your tag, I use Riesling and use black. Repeat Gradient Glow or leave it. Up to you.
Save as PNG